|
While surfing the Internet, we came across this laboratory power supply from the brand GVDA, which was completely unknown to us. The price is good, the device looks nice and the specifications are great. So we ordered one and in this article you will discover the results of our test. |
Getting to know the SPS-H305 from GVDA
Searching for the manufacture
GVDA appears to be a brand name of Shenzhen Kuaiqu Electronic Co., an obviously Chinese company founded back in 2000. It is therefore surprising that this brand name is not yet widespread on the Internet and that its products are currently only available via AliExpress. You can find the complete product range of this manufacturer at www.nice-power.com.cn.
Price and scope of delivery of the SPS-H305
This power supply is offered via AliExpress for a total price of € 55.45 and is delivered within a week from a Belgian warehouse. There is, for the same price, also a black version available. The power supply comes in a sturdy cardboard box and is well protected inside with styrofoam blocks. In addition to the power supply, two sturdy flexible test leads with a length of 100 cm and a banana plug on one side and a crocodile clip on the other are included. An excellent 130 cm mains cable with earthed plug and IEC C14 connector is also included. A small 16-page English manual completes the delivery.
 |
| The scope of delivery of the SPS-H305 laboratory power supply. (© AliExpress) |
Appearance of the SPS-H305
The power supply comes in a nice flat metal casing that is 25.2 cm wide and only 8.4 cm high. Only the front panel is of plastic. The depth is 17.0 cm and the weight is 1.4 kg. The device, on its four rubber feet, fits nicely on our rack among all kinds of other equipment.
Dominant on the front are the three 4-digit LED displays with a digit height of 10 mm and a bright red appearance. Indeed, this power supply not only has displays for the supplied voltage and current, but also calculates the supplied power which is shown on a third display.
It is worth noting that this power supply also provides a 5 V USB power supply via the well-known USB-A connector, which can be loaded up to 2 A.
The function of the controls
- A
The coarse setting of the maximum output current. - B
The on/off switch. - C
Fine adjustment of the maximum output current. - D
The 5 V USB power connector that can supply 2 A. - E
The display, showing from left to right the current, the power and the output voltage. Current and voltage have a resolution of 10 mV and 1 mA. The resolution of the wattmeter depends on the measured value: 1 mW to 100 mW. - F
The negative output connector, a 4 mm banana socket. - G
The coarse output voltage setting. - H
The GND connector, a 4 mm banana socket. - I
The positive output connector, a 4 mm banana socket. - J
The fine adjustment of the output voltage. - K
The outlet of the built-in fan. This fan is intelligent, which means that it only starts running when the temperature on the internal heatsink becomes too high. This does not happen often, which is fortunate, because this fan makes a lot of noise. - L
The C14 panel mount IEC connector with built-in standard 3.15 A glass fuse for connecting the earthed mains cable.
 |
| The front and rear panels of the SPS-H305. (© 2021 Jos Verstraten) |
The technical specifications of the SPS/H305
According to the manufacturer, the instrument meets the following specifications:
- Line voltage: 220 Vac ± 10 %
- Output voltage: 0 ~ 30.00 Vdc
- Voltage setting resolution: 10 mV
- Input voltage stability: 0.05 % ± 1mV
- Output voltage stability: 0.1 % ± 1 mV
- Long term stability: 0.1 % ± 3 mV
- Ripple and noise on voltage: less than 10 mVrms
- Output current: 0 ~ 5 Adc
- Resolution current setting: 1 mA
- Output current stability: 0.1 % ± 10 mA
- Output power: 150 W max.
- Power measurement resolution: 1 mW ~ 0.1 W
- Earth resistance: less than 20 mΩ
- Accuracy of digital meters: 1.0 % ± 2 digits
- Over current protection (OCP)
- Over temperature protection (OTP)
- Over power protection (OPP)
The electronics in the SPS-H305
The casing opened
The enclosure consists of a U-shaped base containing the electronics and a U-shaped lid that are screwed together. After removing six screws, you can examine the electronics of this power supply. As the two photos below show, you won't be disappointed. The whole construction looks neatly finished. All soldered wires carrying the mains voltage are finished with shrink tubing. Under the entire main PCB is a large aluminium heatsink, on which all the semiconductors to be cooled are mounted insulated. This heatsink is cooled by aeration slots in the bottom and in the two side walls of the housing and, of course, by the fan.
 |
| A view into the power supply from front to back. (© 2021 Jos Verstraten) |
 |
| A view into the power supply from back to front. (© 2021 Jos Verstraten) |
What is striking is the way in which the manufacturer has dealt with the grounding of the device. The grounding pin of the C14 panel mount IEC connector on the back of the enclosure is connected with a very short wire to one of the metal spacers with which the PCB is attached to the enclosure. The GND socket on the front panel is similarly connected to another metal spacer. The ground resistance is specified as less than 20 mΩ and with this construction, that could very well be the case. But of course, we are going to measure that!
The main PCB in detail
The photo below shows the main circuit board in detail. At the bottom, the mains voltage is fed to the board via a red and a black wire. There is a primary mains filter present and you can clearly see the two large high-voltage electrolytic capacitors at the bottom left, which smooth the rectified mains voltage.
What is immediately clear is that the 5 V USB power supply is completely separated from the other parts of the electronics. The electronics for this power supply can be seen on the bottom right of the PCB. After a bridge rectifier for the mains voltage, two electrolytics of 10 μF and 400 V form the primary DC voltage. An LP3669 is used to regulate this rectified mains voltage. An LP15R045S stabilises the secondary voltage at 5.0 Vdc.
The mains voltage is also rectified via a second large bridge rectifier and smoothed by two 680 μF electrolytics with a working voltage of only 200 V. These will therefore (hopefully) switched in series. An AP8022 regulates the primary DC voltage for the main power supply. In this system we find a TL494, a PWM regulator that stabilises the output voltage. Also on the main PCB are two LM358 dual op-amps and a CY022 opto-coupler, which probably controls the galvanically isolated feedback for stabilising the voltage of the main power supply.
On the left side of the main PCB you can see a diode sticking out. This diode is in thermal contact with the heatsink and is responsible for switching on the fan at the right moment.
On the top right you can see two 'wire bridges'. These are obviously the sensor resistors that converts the supplied current into a small voltage to drive the current control and the digital current meter.
 |
Detail of the large main circuit board. (© 2021 Jos Verstraten) |
On the display board, behind the front panel, is a TM1640. This is a seven-segment driver for sixteen displays that undoubtedly drives the twelve LED displays. Also on this board we find an OP07, a fairly expensive op-amp from Analog Devices with a very low offset. The intelligence of the device is in an N76E003AT20, an eight bit 16 MHz flash type microcontroller.
Conclusion
The electronics of this SPS-H305 power supply make an excellent impression. The heavy parts on the PCB are mechanically stabilised with sealant. There are only four wires soldered directly to the PCB. All other connections are made via professional-looking PCB connectors. Unfortunately, for some reason, they are glued so that it is almost impossible to remove the PCB from the instrument.
Testing the SPS-H305 from GVDA
The maximum voltage and current
The device we tested delivered an output voltage of up to 31.017 V and a current of up to 5.134 A.
Measuring the earth resistance
We measured this using the Kelvin method with our Fluke 8842A. One Kelvin terminal is connected to the grounding hole in the mains plug, the second one to the 4 mm GND banana socket on the front panel. We measure a resistance of 0.1885 Ω. Because this is much more than the specified 20 mΩ, we repeat the measurement with our ET4401 LCR meter. This indicates a value of 0.1919 Ω.
Measured between the 4 mm banana socket on the front panel and the earth pin in the IEC C14 chassis terminal on the back of the device we measure 38.3 mΩ and 42.4 mΩ respectively. That comes closer already!
The cold start stability without load
We switch on the cold SPS-H305 and regulate the output voltage to 20.00 V without load. We measure the output voltage with our Fluke 8842A. After half an hour we measure again and measure a voltage difference of only +12 mV.
Long-term stability under load conditions
The power supply is then loaded to an output current of 5 A and again the variation of the output voltage in function of time is measured. The results are summarised in the table below. The output voltage drops by 85 mV or 0.42 %.
 |
| The long-term stability with maximum load. (© 2021 Jos Verstraten) |
The accuracy of the built-in voltmeter
The unloaded power supply is switched on and warmed up for half an hour. Afterwards the output voltage is set to integer voltages with the two potentiometers. The exact value of the unloaded output voltage is measured with the Fluke 8842A. The results are summarised in the table below.
From this table it is clear that the accuracy is quite low for the lowest voltages, but quickly increases to acceptable values below 0.2 %.
 |
| The accuracy of the built-in voltmeter. (© 2021 Jos Verstraten) |
The accuracy of the built-in ammeter
The power supply is connected to the current inputs of the Fluke 8842A up to 2 Adc and then to those of the Voltcraft VC650BT, which can measure up to 10 Adc. Via the two potentiometers, the delivered current is set to integer values. The results of this test are summarised in the table below. Again, there is a fairly large percentage error at small currents, which becomes smaller as the delivered current increases. It seems as if the meter has a small offset, which of course becomes less and less significant as the measured current increases.
 |
| The accuracy of the built-in ammeter. (© 2021 Jos Verstraten) |
The input stability of the voltage
This parameter gives an idea of the stability of the output voltage when the mains voltage varies. We simulated a mains voltage varying between 250 Vac and 200 Vac using a variac and measured the stability of the output voltage set to 20.00 V when loaded with 5 A. The results are excellent, see the table below.
 |
| The input stability at 20.00 V and 5 A. (© 2021 Jos Verstraten) |
The output stability of the voltage
This parameter defines the stability of the output voltage when the power supply is loaded with various currents between no-load and full-load. We measured this parameter at output voltages of 5.00 V, 12.00 V and 30.00 V respectively.
The results are summarised in the table below. From these measurements you can calculate the output resistance of the power supply. For example, if the output voltage decreases by 0.14 V (this is called ΔU) when the current increases from 0 A to 5 A, you can use Ohm's law to calculate the output resistance of the power supply. Divide the ΔU by the ΔI current difference and you will know! The output resistance is therefore on average 27.4 mΩ.
 | |
| The output stability at three different voltages. (© 2021 Jos Verstraten) |
Note on voltage indication
The built-in voltmeter does not measure the real value of the output voltage, but only the set value. For example, if you set the voltage until the display indicates 5.00 V and then connect a load on the power supply, the voltmeter will still indicate 5.00 V, even though the real output voltage is decreasing due to the increasing load current.

Noise and ripple on the output voltage
You can measure this parameter in two ways: with an mV meter that can measure AC voltages in a wide frequency range and with the oscilloscope. It will be clear that both measurements give quite different results. After all, the AC meter shows average or at best rms values, on the oscilloscope the focus is on the peak voltages of that noise or ripple.
We perform the first measurement with our Philips PM 2454 analogue mV meter that measures up to 2 MHz. The results are summarised in the table below. Noise and ripple are thus above the specification that promises 'less than 10 mVrms'.
 |
| The noise and ripple measured with an analogue mV meter. (© 2021 Jos Verstraten) |
The story becomes more dramatic if we connect the oscilloscope to the two output terminals of the power supply, see the pictures below. On the left you see the noise and ripple on the output voltage of 5.00 V at zero-load and on the right at full-load. Please note the sensitivity settings are not identical! So at full-load, the noise has both positive and negative peaks with an amplitude of over 200 mV!
The switching frequency of the mains power supply
If we set the picture of the noise to a faster time base speed, we can measure the frequency at which the switched-mode power supply operates. This depends a little on the output voltage and the load current, but the switching frequency is around 950 kHz.
Behaviour in the event of a short circuit
What happens if the power supply is short-circuited for a moment? That the output voltage suddenly drops is logical. More interesting is how the power supply behaves when the short circuit is removed. The picture below shows that the SPS-H305 behaves nicely. The power supply was set to an output voltage of 12.00 V. When the short circuit is removed, the output voltage reaches the set value within about 15 ms, without any overshoot or other annoying phenomena.
 |
| The noise and ripple measured with an oscilloscope. (© 2021 Jos Verstraten) |
The switching frequency of the mains power supply
If we set the picture of the noise to a faster time base speed, we can measure the frequency at which the switched-mode power supply operates. This depends a little on the output voltage and the load current, but the switching frequency is around 950 kHz.
 |
| Measurement of the switching frequency of the power supply. (© 2021 Jos Verstraten) |
Behaviour in the event of a short circuit
What happens if the power supply is short-circuited for a moment? That the output voltage suddenly drops is logical. More interesting is how the power supply behaves when the short circuit is removed. The picture below shows that the SPS-H305 behaves nicely. The power supply was set to an output voltage of 12.00 V. When the short circuit is removed, the output voltage reaches the set value within about 15 ms, without any overshoot or other annoying phenomena.
 |
| The short-circuit behaviour of the power supply. (© 2021 Jos Verstraten) |
Behaviour under dynamic load
Finally, we investigated the behaviour of the power supply under a dynamic load of 2 A. For this purpose, we loaded the power supply with a 2N3055 power transistor with a power resistor of 10 Ω in the collector circuit. Thus, at an output voltage of 20.00 V, approximately 2 A is supplied by the power supply. The base is controlled from a TTL-compatible signal with a frequency of 1 kHz via a resistor of 100 Ω. From the picture below, the output voltage (yellow trace) varies by approximately 200 mV. The blue trace shows the TTL signal used to control the 2N3055.
 |
| The dynamic behaviour of the power supply. (© 2021 Jos Verstraten) |
The 5 V USB output
Stability of this voltage
As shown in the table below, the USB connector does not provide a stable output voltage. It has a voltage jitter of about 80 mV. However, the devices you power via this connector will not find this a problem.
") |
| The output voltage on the USB connector. (© 2021 Jos Verstraten) |
Ripple and noise
Of course we also measured this parameter. The Philips mV meter indicated a value varying between 7 mV at no-load to 22 mV at full load. On the oscilloscope we see that this power supply is regulated very differently from the main power supply. The ripple is triangular rather than sinusoidal. But also on this output we find quite large peaks of over 200 mV at full load with 2 A.
 |
| The switching residue on the 5 V USB power supply. (© 2021 Jos Verstraten) |
Our opinion on the SPS-H305 by GVDA
This power supply is carefully designed and well built. Setting both voltage and current to the desired value is, thanks to the two potentiometers, fast and accurate. However, we miss an indication on the knobs about the position of the knob. This is particularly noticeable on the knobs for the two fine settings. You first have to put them in the centre position before you use the coarse control to set the value of the output quantity approximately to the desired value. Afterwards, you adjust with the fine setting.
The accuracy of the two meters is good enough. The input and output stability is also excellent for hobby work.
The efficiency of the power supply is apparently so high that, even at maximum load, so little heat is generated that the fan only has to run occasionally. That is fortunate, because the first point of criticism is that this fan is rather noisy.
The more serious second criticism is that the power supply does produce a bit too much switching residue on the output. This should have been reduced by a factor of five!

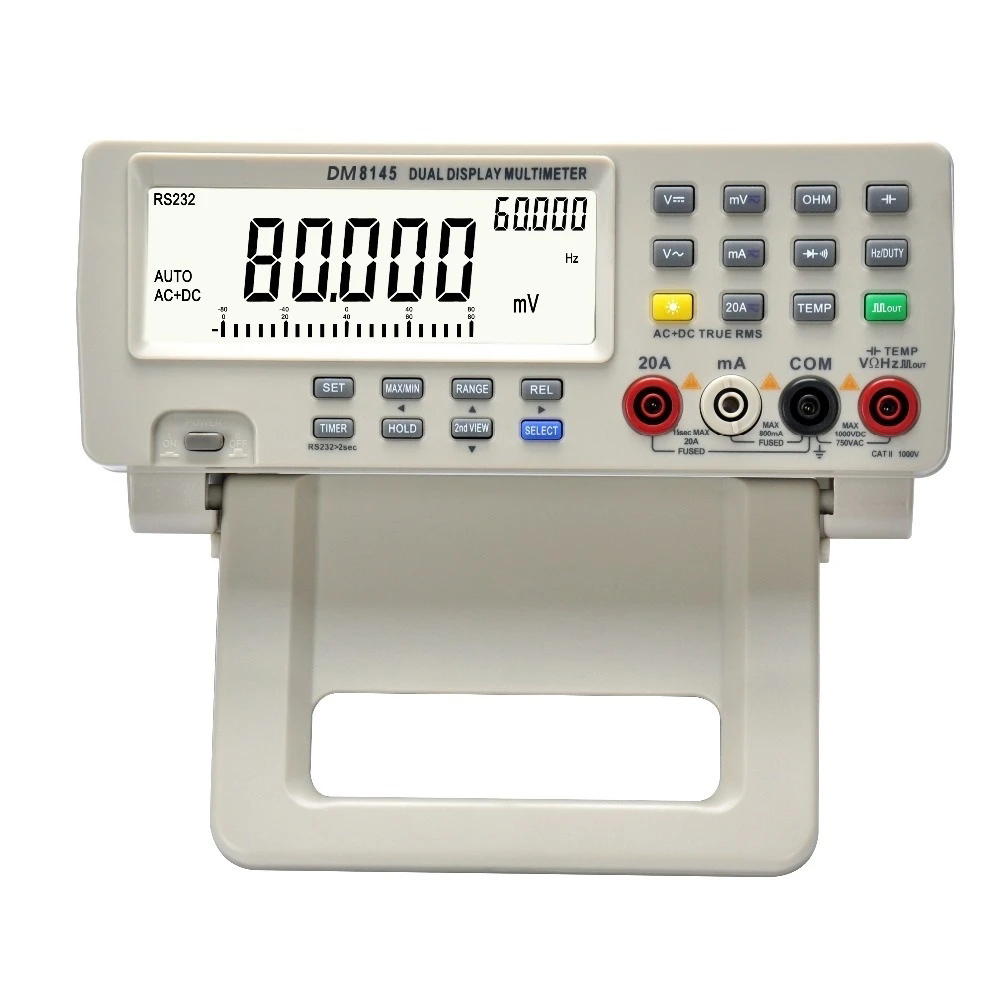
DM8145 4 7/8 Bench top Multimeter