
|
This inexpensive Chinese device measures very low resistances, for example the ON resistance of MOSFETs, with an accuracy of ±0.1 %. Unfortunately, the user interface is terrible and only available in Chinese.... |
Introduction to the YR2050 from YAOREA
Why measure resistances in the milli-ohm range?
For example, if you want to know the ON resistance of an old MOSFET to compare it to the manufacturer's specifications. Or if you need to repair an analog power amplifier and wonder if the brown burnt wire-wound emitter resistors of 0.1 Ω are still within tolerance. Such low resistance values cannot be measured properly with your standard multimeter. However, most milli-ohm meters are quite pricey, you have to pay several hundred dollars for them. Not attractive if you need to measure very low resistance only occasionally. Through Google, however, we find a cheap little device that costs about fifty euros and, according to the specs, is said to have an accuracy of ±0.10 %. The lowest range is 1.19999 Ω and the device works using the four-wire measurement method, also called Kelvin method. That's a positive point!
That resolution of 0.01 mΩ is obviously nothing more than a sales pitch, and not very useful with an accuracy of only ±0.10 %. Indeed, the consequence of that accuracy is that all indications below 1 mΩ do not provide reliable information. But, more digital meters suffer from this discrepancy between accuracy and resolution, so we turn a blind eye.
Manufacturer, suppliers and prices
The YR2050 is from the Chinese brand YAOREA, completely unknown to us. That brand is marketed by Jinan Yaorui Electronic Technology Co., Ltd. It is a popular product, as a Google search will find dozens of vendors offering the meter through AliExpress, eBay and similar sales sites. We ordered our copy from the 'Utility Tool Store' and paid € 47.34 for it, including shipping.
The measurement principle
When measuring very low resistance values, you must take into account the resistance of the measuring leads, probes, alligator clips and the contact resistances between the measuring leads and the meter itself and between the measuring leads and the resistance to be measured. These cannot be avoided when measuring resistances with an ordinary multimeter. Hence, almost all milli-ohm meters work using the four-wire or Kelvin method. This is presented in the figure below. The meter has four connectors and you connect all four over the resistance to be measured. Through the 'IN+' connector, a constant current is sent to the resistor. This current flows back to the meter through the connector 'IN-'. This constant current generates a voltage across the resistance to be measured, the magnitude of which is directly proportional to the value of the resistance. After all, this follows from Ohm's law. This voltage is connected via two test leads to the 'SENSE+' and 'SENSE-' connectors of the meter.
There is a high input resistance between these connectors, so hardly any current flows through these two test leads. The voltage is measured and converted into a resistance indication on the display. If you study the drawing below for a moment you will notice that the influence of all parasitic and contact resistances is now eliminated.
In practice, the two red and the two blue test leads are usually combined into two measuring pliers with gold-plated jaws, which you clamp as close as possible to the resistor body on the connecting wires.
 |
| The measuring principle of the YR2050. (© 2023 Jos Verstraten) |
Delivery of the YR2050
The meter comes in a sturdy cardboard box, along with an English manual and a Kelvin probe that doesn't look too professional. But from the measurement system outlined, you can see that the thickness of the leads plays no role at all in measuring resistance. The Kelvin probe is not connected to the meter via four 4 mm banana plug sockets, but via a USB-A connector on the top of the device. Oddly, the texts at the six push buttons on the front panel are in Chinese. A foreshadowing of what lies ahead for us (and you, if you buy such a device)....
 |
| The YR2050 with the included Kelvin probe. (© 2023 Jos Verstraten) |
The YR2050 viewed from all sides
In the picture below, we made a composition of all sides of this little meter. Under the buttons there is room enough for English text. Unfortunately, there is none. What you see in blue we inserted ourselves to give you an idea what the buttons are for. In addition to the USB-A connector on the top is another micro-USB connector. This allows you to charge the battery in the device from a standard 5 V mains power supply.
 |
| The YR2050 viewed from all sides. (© 2023 Jos Verstraten) |
What the YR2050 can do
First of all, obviously measure very low resistance values. According to the sticker on the back, you can measure resistances between 0.01 mΩ and 1.19999 kΩ, but we don't believe much of that lowest value.
In addition, the YR2050 has the option to set two thresholds and perform a PASS/NO test on all subsequent measurements. A reading within the thresholds gives an indication 'PASS' and a beep, a reading outside the threshold gives a 'NO' and an intermittent beep.
Finally, the meter has the specific resistance of a dozen conductors stored in its memory and you can calculate the length of a cable from the measured resistance and the known cross section of that cable.
The manual
The manual provided is also on the Internet as a PDF file and we have copied it for you on our account on the Internet Archive:
The specifications of the YR2050
Not many specifications are given. For example, important data such as the measurement currents are not specified.
- Display: alphanumeric LCD, 45 mm by 28 mm
- Number of counts: 119999
- Measurement speed: 4 measurements/s
- Measuring range 1: 1.19999 Ω
- Measuring range 2: 11.9999 Ω
- Measuring range 3: 119.999 Ω
- Measuring range 4: 1199.99 Ω
- Accuracy: ±0.10% ~ ±0.15%
- Temperature coefficient: 100 ppm/°C
- Battery: type 18650, 3.7 V / 2000 mAh
- Maximum current consumption: 160 mA
- Input protection: 3 x 0.5 A glass fuse
- Maximum voltage between inputs: 20 V
- Auto-range: yes
- Auto-shutdown: yes
- Charging voltage: 5.0 Vdc
- Charging current: 0.5 A max.
- Dimensions: 132 mm x 75 mm x 25 mm
- Weight: 168 g
The electronics in the YR2050
The two parts of the housing are secured with four screws. The PCB contains, see photo below, a lot of electronics. Unfortunately, all type numbers of all ICs have been made unreadable, so we cannot guess how the electronics work.
Worth noting are the three glass fuses F1, F2 and F3 of 0.5 A, which are connected directly to the pins of the USB-A connector. Via the PCB connector JP1, both PCBs are interconnected.
The connector J5 is undoubtedly for programming the microcontroller.
 |
| The internal of the YR2050. (© 2023 Jos Verstraten) |
Working with the YR2050
Turning on
A short press on the 'ON/OFF' will, after a brief intro screen, turn on the primary measurement function. All the text that appears on the screen is in Chinese. This is not exceptional with Chinese equipment, but there is always a menu option available to switch the user interface to English. To our astonishment, this option is not present with the YR2050! So you have to learn to deal with the Chinese screen texts!
The model we have has version number 1.2209.
To turn off the YR2050
Press the 'ON/OFF' button for at least two seconds. The display below will appear. Translated: Shut down? Key 'HOLD/SAVE' ➡ 'Yes', key 'UP' ➡ 'No'.
 |
| The shutdown screen of the YR2050. (© 2023 Jos Verstraten) |
The Menu Options
By briefly pressing the 'ON/OFF' button while in the primary measurement mode, you will enter the menu. This consists of three screens with a total of ten options, which are summarized in the figure below with what appears on the screen and what it all means.
About options 6, 7, 8 and 9 we can be brief: these do nothing at all!
 |
| The ten options of the menu. (© 2023 Jos Verstraten) |
Option 1, normal mode
In the figure below, you can see the starts up screen. Fortunately, there is not a word of Chinese here, so you can work with it even without a talent for languages. At the top left is the familiar little symbol that shows the state of the battery. Next to it is the range. In this case 'AUTO' because we have enabled automatic range switching. You do this by pressing the 'RANGE' button. This button has five positions: 1R, 10R, 100R, 1K and AUTO.
Since no two threshold values are defined, the space next to 'LO' and 'UP' is empty. In the place of '----' come the indications 'PASS' or 'NO' when you enable option 5 of the menu.
 |
| The screen of the normal measurement mode. (© 2023 Jos Verstraten) |
Option 2, detection mode
In this mode, the formula familiar to any electronics student:
R = ρ ● [l / A]
can be calculated by the YR2050.
In words, the resistance R of a conductor is directly proportional to its length l, inversely proportional to its cross-section A and dependent on its specific resistance ρ.
The display of this option is shown in the figure below. At the top right is the resistance measured by the device. The way you have to handle this option is not exactly user-friendly. Suppose you want to calculate the length of a wire whose resistance you have measured. You operate this option in the following manner:
- Press 'UP' or 'DOWN' to go to the parameter 'cross-section'.
- Press 'SELECT' to select a digit or the decimal point.
- Press 'UP' or 'DOWN' to adjust the value.
- Press 'HOLD/SAVE' to confirm.
- Repeat these steps for the remaining digits.
- Press 'UP' or 'DOWN' to move to the three dashes next to the Ω symbol.
- Press 'HOLD/SAVE' to confirm.
- Press 'UP' or 'DOWN' to select the type of element or material of the wire.
- Press 'HOLD/SAVE' to confirm.
- When all parameters have been entered, press 'SELECT' to calculate the length l.
 |
| The detection mode screen. (© 2023 Jos Verstraten) |
Option 3, backlight setting
The screen associated with this option is shown in the figure below, completed by the translation of what is shown on the display. You can set the brightness between 10 % and 90 % and the duration between 5 s and 60 s. With 'Trigger' you determine whether the backlight should always be on or only after a key press.
 |
| The backlight setting screen. (© 2023 Jos Verstraten) |
Option 4, power saving setting
In much the same way as option 3, in this screen you set the time of automatic shutdown and you can set an energy-saving mode, where the device enters a kind of standby mode. The current through the resistor then becomes zero, the display shows '----'.
Option 5, upper and lower limit alarms
This option also requires you to enter some data on the screen, which is just as laborious as option 2.
- Using the 'UP' and 'DOWN' keys, select the 'LO' or 'UP' line on the display.
- Then press the 'SELECT' to select a digit or the decimal point.
- Adjust the value with the 'UP' and 'DOWN' keys.
- Repeat these steps for the remaining digits.
- Press 'HOLD/SAVE' to confirm.
- Use 'UP' and 'DOWN' keys to select the second parameter.
- Repeat the procedure.
- In the bottom line of the display, select whether or not the comparison of the measured value with the two thresholds should be performed.
 |
| The upper and lower limit alarm settings. (© 2023 Jos Verstraten) |
If you have selected 'On' in the bottom line and you go back to option 1 of the menu you will now see the display below. If the measured resistance is between the two set thresholds the word 'PASS' will appear and you will hear one beep. If the resistance value is outside the thresholds, the word 'NO' will appear and you will hear an intermittent beep.
 |
| The display in the compare mode. (© 2023 Jos Verstraten) |
Option 10, setting specific resistance
This option has space for entering twenty specific resistances of various elements and alloys. Twelve are already filled in, but because of the Chinese writing, you obviously don't have much use for them. The first four are:
1. Copper
2. Constantan
3. Manganese-copper
4. Aluminum
Here it is noteworthy that the value for aluminum is entered as 0.02830, while according to our sources it is 0.0265 Ω·m·10−6. Also, the entered value for constantan is not correct according to our data. You can adjust the values in the same way already described for options 2 and 5.
 |
| The list of specific resistances. (© 2023 Jos Verstraten) |
YAOREA's YR2050 tested
Open-terminal voltage
A DC voltage of 3.67 V is present between the open terminals of the Kelvin probe.
Adjusting the zero point, or enabling the offset function
Short circuit the Kelvin probe and long press the 'HOLD/SAVE' key. In the display, a 'U' symbol appears on the second line and the reading goes to 0.00000 Ω. This therefore corresponds to the function known as 'OFFSET'. A long press on the 'HOLD/SAVE' key again disables this function.

The measurement currents
The specs do not specify the currents at which the YR2050 measures. Of course, we checked that with the results below:
- Range 1R: 98.6 mA
- Range 10R: 9.92 mA
- Range 100R: 996 μA
- Range 1K: 99.4 μA
If you measure a resistor of 1 Ω in the lowest measuring range, a voltage of 0.0986 V will fall across this resistor. A power of only 0.0986 V times 0.0986 A is then generated in this resistor, or 0.009 W. So there will be no erroneous measurement results due to heating of the resistor to be measured!
Measuring two ±0.01 % resistors
We have invested in a set of resistors with a tolerance of only ±0.01 % and a very small temperature coefficient. From this set, we can use the resistors of 100 Ω and 1 kΩ to check the accuracy of the YR2050. We also measure those resistances with our lab multimeter 8842A from Fluke. The results are summarized in the table below.
With its specified accuracy of ±0.1 %, the YR2050 should measure the resistance of 100 Ω with an indication between 99.9 Ω and 100.1 Ω. For the resistance of 1 kΩ, the limits are 999 Ω and 1001 Ω. The YR2050 does a great job of that, the accuracy of our device is much better than the specified value.
 |
| Measurement results of the ±0.01 % resistors. (© 2023 Jos Verstraten) |
Measuring low resistance values with the YR2050 and the 8842A
You don't buy a YR2050 to measure resistances of 100 Ω or 1 kΩ, you can do that with your multimeter too. So we measured some very low-ohm resistors with the YR2050 and the 8842A. We use the latter measurement as a reference because the wire-wound resistors to be measured are not exactly very accurate. The results of these measurements are summarized in the table below.
 |
Comparative measurement results of low-ohm resistors. (© 2023 Jos Verstraten) |
Measuring the ON resistance of MOSFETs.
The YR2050 is ideal for measuring the ON resistance of MOSFETs. We describe here the measurement method when testing an N-channel enhancement mode MOSFET.
Connect the black terminal of the meter to the source of the MOSFET and the red terminal to the drain. Use a DC power supply to connect a positive voltage of +12 V to the gate. The negative terminal of this power supply goes to the source. The YR2050 now measures the ON resistance of the semiconductor.
With a P-channel MOSFET, you must of course reverse all polarity.
Our opinion of the YR2050 from YAOREA
We have a rather mixed feeling about this milli-ohm meter. The results of our accuracy tests speak a clear language. For measuring low resistance values, you can trust the measurement results of the YR2050 without any doubt.
About the user interface of this device we can be brief. It is below any acceptable level and urgently needs to be completely redesigned. For example, it is absolutely unacceptable that such a device offered for sale via Chinese sites worldwide cannot be set to an English-language user interface.
We are quite convinced that you will not often perform calculations with the YR2050. It is too much and too complicated work to do. So, a well-meaning hint to the manufacturer. Organize a test panel of users and incorporate their comments on the operation of this little device into the software. Then create a device that is (hopefully) much more intuitive and user-friendly to operate!

(Banggood sponsor ad)
KAIWEETS HT118E Digital AC/DC-multimeter
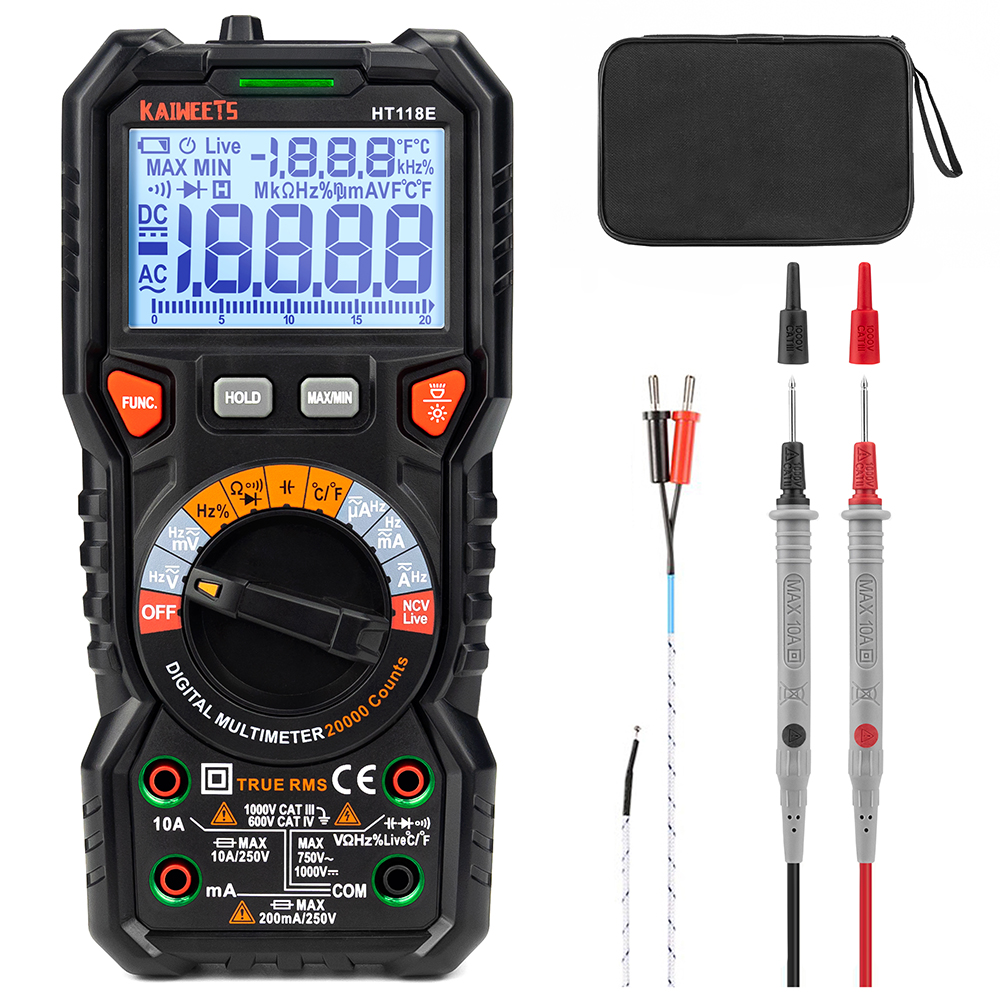
KAIWEETS HT118E Digital AC/DC-multimeter